Great, we already have a production server and have done some tasks to better understand how it works. Now let’s take a look at middleware - one of the most important concepts of Express.js.
Middleware
Before the request gets to the handler function, which we specified as the second parameter in server.get, it goes through the chain of other functions. Each of these functions, and all of them together, are called middleware.
You can add these middleware functions with use.
server.use((req, res, next) => {
  console.log(`Received ${req.method} request!`);
  next();
})
By adding these few lines of code to your project, you will see a Received GET request! message in the console every time the localhost:8080 page is refreshed in the browser. The req.method field stores the type of the HTTP request, in this case, GET.
Middlewarefunctions have 3 parameters. The last one,next, is a service function that needs to be called if you want to continue moving the request through themiddlewarestack and beyond.
Sometimes you want to filter out some requests before they reach the route handlers. A good example is the authorization process. You can accept a password or a secret key in the request and allow only verified requests.
const checkSecretKey = (req, res, next) => {
  if (!req.query.secretKey || req.query.secretKey !== 'TistRIanDsMOUnca') {
    return res.status(403).send('Secret key is missing or incorrect');
  }
  next();
}
Here, we check if there is a secretKey field in the request, and if so, we check its value. If there are problems with verification, then we send back the status 403 and the message Secret key is missing or incorrect. And if all is well, then we send the request further using the call to the next() function.
You can add the checkSecretKey function to the middleware stack using the same use function.
app.use(checkSecretKey);
To test yourself, try adding a private key check first before logging the request type, and then after. In one case, you will see the output in the console, in the other, you will not. Do you understand why?
What is a query string
In the previous example, we tried to access the req.query query string. It includes all the parameters that you specify after the main route and the question mark.
localhost:8080/about?secretKey=123&name=jack
In this example, the query string is secretKey=123&name=jack. It consists of two parameters - secretKey and name.
Express.js will decode it under the hood and give us a nice object in req.query, which will be equal to
{
  secretKey: 123,
  name: 'jack',
}
Go back half a step and try to send a request to the server with the correct secretKey. Our authorization should work and you should gain access to the server.
Access from the outside world and localtunnel
For now, you can communicate with your new backend only from your local computer. For other devices and external users to talk to your server, you cannot simply replace localhost with your external IP address from the link at the very beginning of the lecture. More precisely, technically, it would be possible, but this would require you to go through a 3-page instruction. I’m sure that you’d fallen asleep before you reached the middle.
Fortunately, there is a very handy npm package called localtunnel. You can tell it something like: “My backend is running on my computer, on port 8080. Please make it so that it is available to everyone.” It sounds like magic, but that’s fine. localtunnel will give you an address that will make your backend available to anyone on the Internet.
You can find instructions for installing localtunnel
here. But I’ll show you the whole process step by step:
-
Open a terminal and enter this command to install
localtunnelgloballynpm install -g localtunnel -
Launch our backend on port 8080 (or any other free port)
-
Return to the terminal and write
lt --port 8080After executing this command, you will receive a message
your url is: https://bright-pug-55.loca.lt
Your URL will, of course, be different, but if you enter it into a web browser on your mobile phone or any other device connected to the Internet, you will first see the welcome page
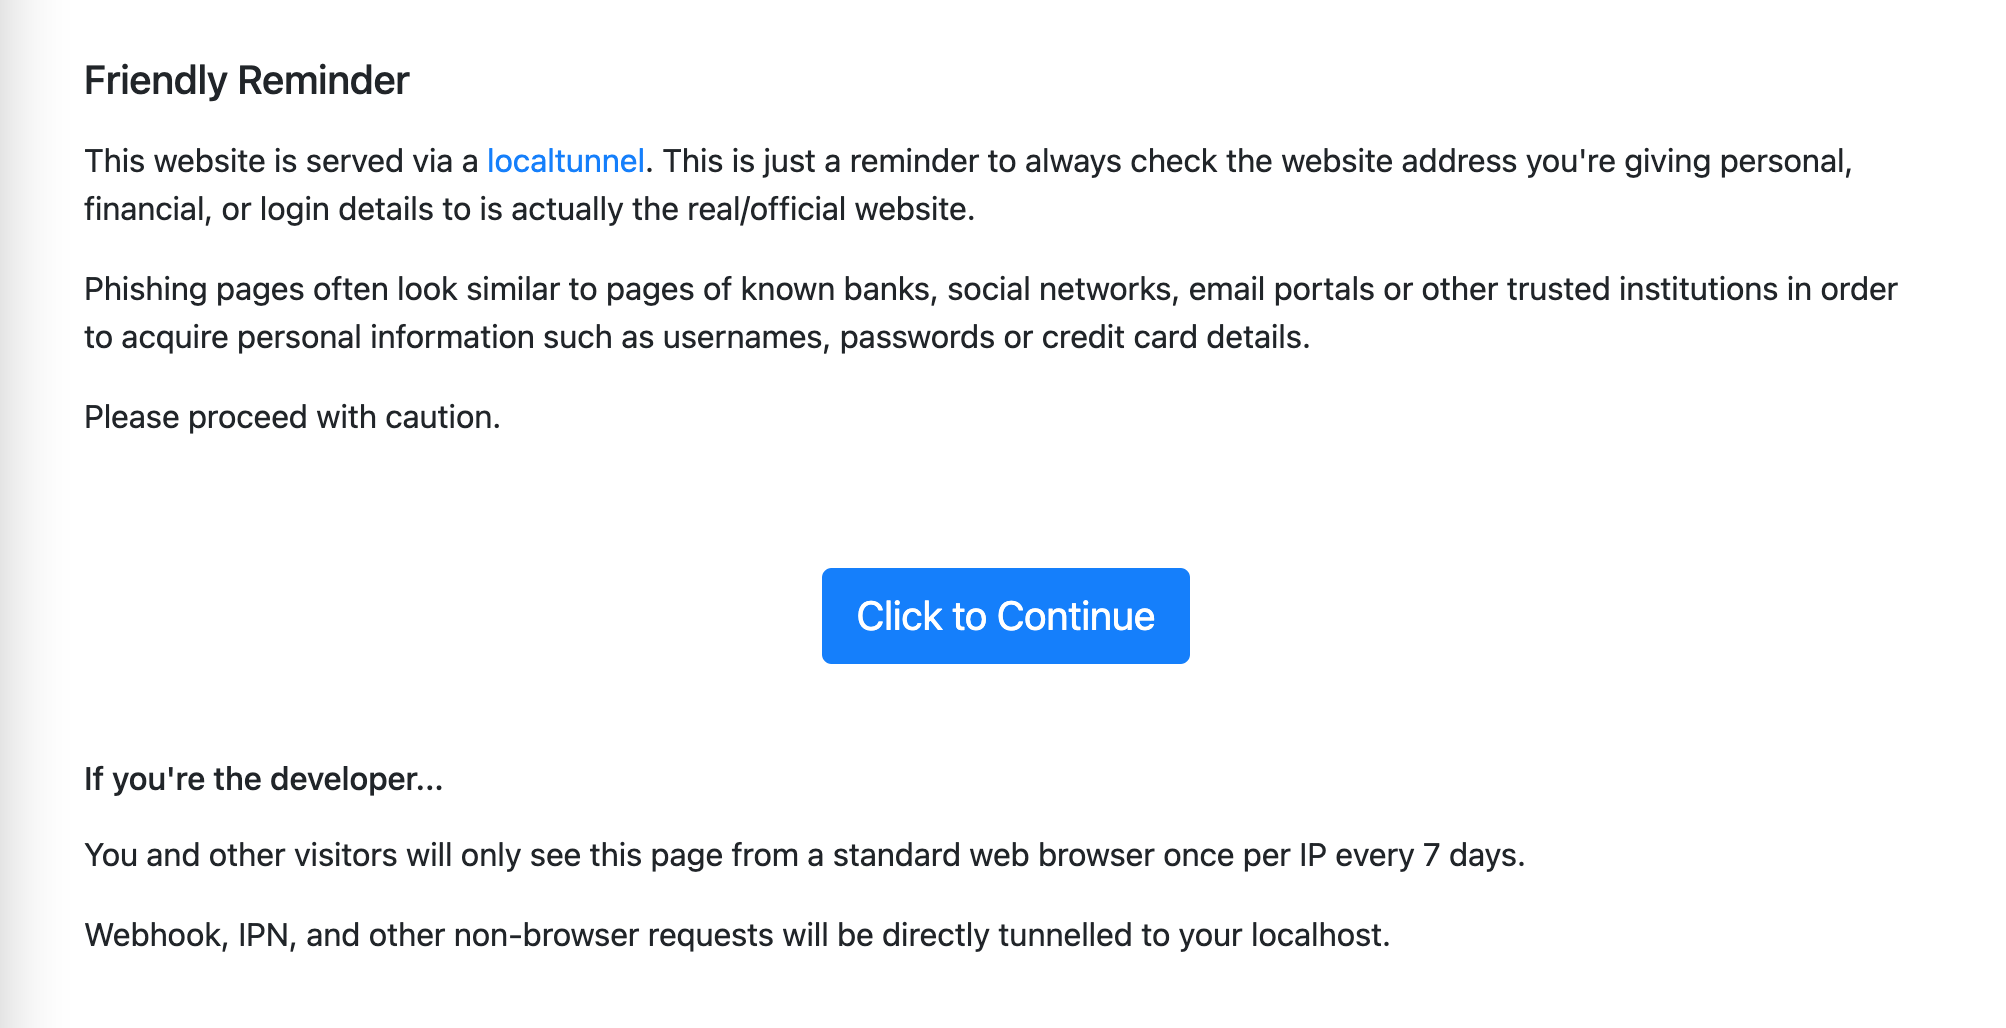
And after clicking on Click to Continue, the same thing that was previously available only on localhost:8080.
Read more JavaScript tutorials or Learn Full-Stack JS from scratch!