Sometimes, you want to put text next to the image to display the information like a profile picture of the social media or service platform, a company’s team members, and many more.
In this short article, I will show you how you can do this by using three methods. The three following methods are:
- CSS Flexbox
- Vertical-align
- Float
Let’s take a look at how each of these methods works.
Method 1: Using CSS Flexbox
The first method is CSS Flexbox. This one requires a parent element meaning your image and the text are wrapped around under a single HTML element with the div tag. Then you apply CSS flexbox by adding display: flex to the parent element to make the element’s contents move from row to column, and the text will be next to an image.
.parent {
    display: flex;
  }
Example code
Here’s how you use flexbox on your website. I added width, height, and margin-right to make it look decent for this example:
<style>
  img {
    width: 150px;
    height: 150px;
    margin-right: 15px;
  }

  .parent {
    display: flex;
  }
</style>

<div class="parent">
  <img src="myimage.png" />
  <div>
    <p>Technic</p>
    <p>[email protected]</p>
    <p>Software Engineer</p>
    <p>Created with Flexbox</p>
  </div>
</div>
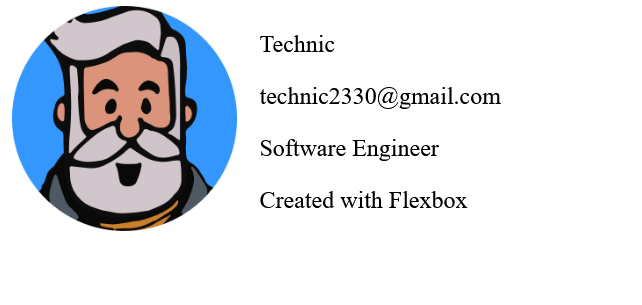
Example output
Method 2: Using Vertical-align
The second method is the Vertical-align property. This one does not require your image and text to be wrapped around under one element. All you have to do is to add a vertical-align to the image directly and then set the value to the middle.
The span tag itself will make the text be moved next to the image as the p tag will always make the text be under the image. The vertical-align: middle is what makes the text aligned to the center, making it look better visually when you put the text next to an image.
  img {
    vertical-align: middle;
  }
Example code
Here’s how you use vertical-align property on your website. Note that this method will work only for one line text and if your text has more than one line or are arranged in lists, then you should use other methods instead.
<style>
  img {
    width: 150px;
    height: 150px;
    margin-right: 15px;
    vertical-align: middle;
  }
</style>

<img src="myimage.png" />
<span>Technic - Created with vertical-align</span>
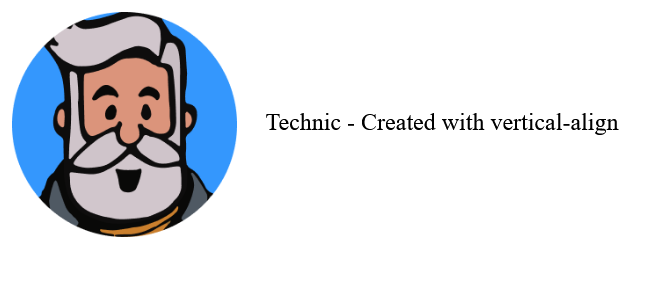
Example output
Method 3: Using Float
The third method is Float. This one also does not require your image and the text to be wrapped under one element.
Float is the old way of creating the website’s layout and with the introduction of flexbox which makes creating the layouts much easier than before, the float property is now less frequently used by the developers. That being said, there are times when it makes sense to use float and hence we’re including this method in the article.
To use float, you simply add float: left; directly to the image and this will make the image float to the left side, making your text appear next to an image.
  img {
    float: left;
  }
Example Code
Here’s how you use float property on your website.
<style>
  img {
    width: 150px;
    height: 150px;
    margin-right: 15px;
    float: left;
  }
</style>

<img src="myimage.png" />
<div>
  <p>Technic</p>
  <p>[email protected]</p>
  <p>Software Engineer</p>
  <p>Created with Float</p>
</div>
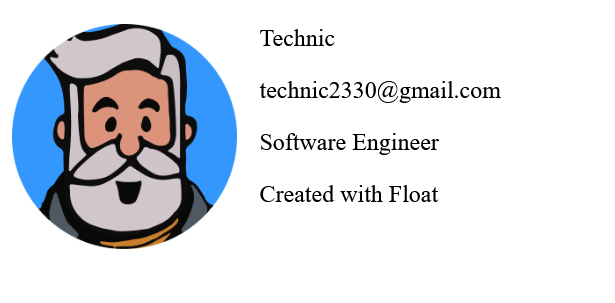
Example output
Wrapping up
And this is how you add the text next to an image using either flexbox, vertical-align, or float. As there are more than one ways you can do it, try any of these methods to see which method will work for your use cases.
Sometimes, you want to put text next to the image to display the information like a profile picture of the social media or service platform, a company’s team members, and many more.
Get my free e-book to prepare for the technical interview or start to Learn Full-Stack JavaScript