The select element is the correct HTML for making a drop-down List. For a quick refresher, It is an HTML element tag that creates a drop-down list and is used to get user submissions on an input form.
The select element is frequently used along with the option element to create a form in an HTML file.
The syntax
<select >
      <option></option>
</select>
An example code
Here is an example of how to use the select element to make an HTML form:
    <label for="smartphone-select">Choose a smartphone brand:</label>

    <select name="smartphone" id="smartphone-select">
      <option value="">--Please choose an option--</option>
      <option value="apple">Apple</option>
      <option value="samsung">Samsung</option>
      <option value="huawei">Huawei</option>
      <option value="xiaomi">Xiaomi</option>
      <option value="nokia">Nokia</option>
      <option value="vivo">Vivo</option>
    </select>
First, the label attribute is added to give the form a label. This attribute lets the users know what type of input is as some input forms can have more than one drop-down list. Plus, it will help to make your form more accessible to everyone.
Second, the select element is added to create a drop-down list in the form.
Third, the name attribute is added in the select element, and it is necessary because if you do not include it, it won’t be able to collect the data when the user submits the form to the backend server.
Fourth, the id attribute is also added in the select element and what it does is it will make an association with a label attribution which is used to improve the accessibility of the form.
Fifth and finally, the option element is added to make a list of available options in the drop-down list. The option element is often added inside the select element.
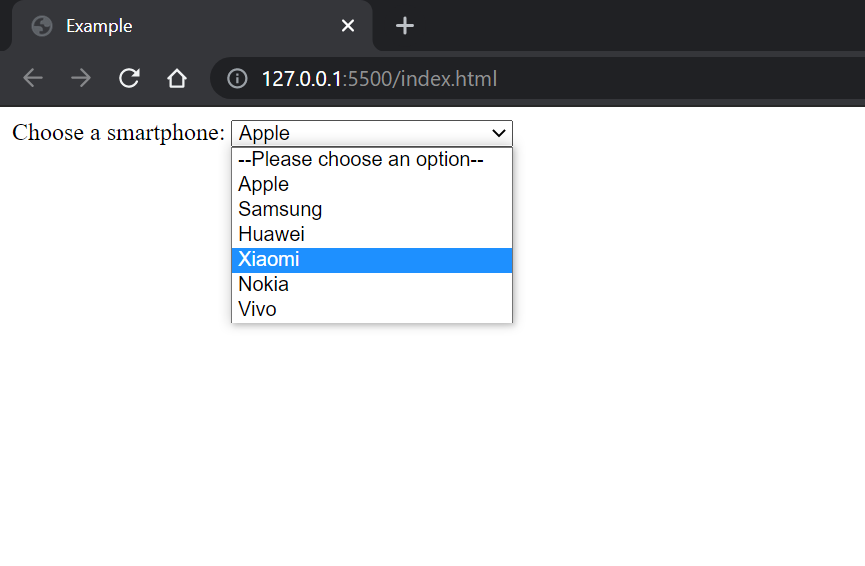
Output
And this is how it will turn out:

Get my free e-book to prepare for the technical interview or start to Learn Full-Stack JavaScript