Learn how to create multiple pages in HTML with three easy-to-follow steps.
Step 1: Create a folder
The first step is to add a folder. A folder stores all your pages in one place and makes it easier to organize your project.
To create a folder in Visual Studio Code, click the Explorer icon on the left sidebar and click the new folder icon.
You can name the folder however you like, and in this guide, I call it business-website as an example only.
Step 2: Create an HTML file
The second step is to add HTML files. The HTML files will serve as a page of the website, and you can have as many pages as you like. In this guide, we will make only four web pages.
To do that, first, add a new HTML file inside the folder, and we will name it index.html. That will be your homepage, and it is crucial to call it an index because when the webserver first loads your site, it will search for index.html by default.
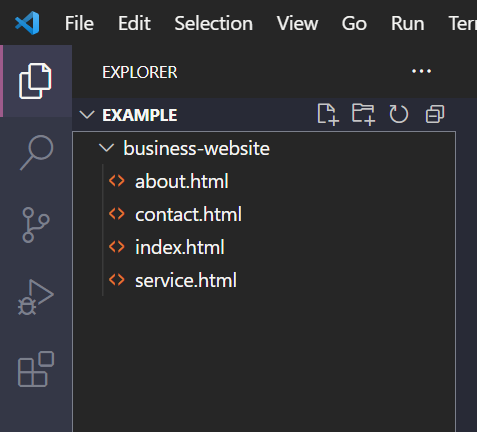
Next, add three other HTML files and give the filenames as about.html, service.html, and contact.html. Make sure that all these files are in the same folder.
When you finish it, your website directory should look like this:
Step 3: Create a navigation bar
Okay, you are almost there! The only thing left is to add a navigation bar in all HTML web pages so that the visitors can navigate your website.
To create a navigation bar, add the nav elements inside the body elements. Inside the nav elements, create a navigation link by adding the a elements, and each link should have the href attribute where the value is the name of the HTML file.
For example, to link a contact page, you do like this:
<a href="./contact.html">Contact</a>
The final code should look like this in every HTML file.
<!DOCTYPE html>
<html lang="en">
  <head>
    <meta charset="UTF-8" />
    <meta http-equiv="X-UA-Compatible" content="IE=edge" />
    <meta name="viewport" content="width=device-width, initial-scale=1.0" />
    <title>Business website</title>
  </head>
  <body>
    <nav>
      <a href="./index.html">Home</a>
      <a href="./about.html">About</a>
      <a href="./service.html">Service</a>
      <a href="./contact.html">Contact</a>
    </nav>
  </body>
</html>
Conclusion
And now it is all done! When you head back to the browser and click any links in the navigation bar, it will take you to its destination page. With this, you have learned how to create multiple pages.
I hope you find this guide helpful and happy coding!
Get my free e-book to prepare for the technical interview or start to Learn Full-Stack JavaScript