This far, I taught you to only use the code you’ve written yourself. From the learning point of view - it’s correct. In the real world, though, most of the common coding tasks have been already solved. It’s pointless to reinvent the wheel, and it’s a lot more convenient to use ready-made solutions.
— Do you mean that I should copy someone’s code?
— No. I don’t mean that you should be copy-pasting your way into the software development world. It’s a slippery slope. You can encounter multiple issues. Copy/pasted code can contain bugs, harmful exploits and you can even run into copyright issues you’ve never thought of.
One of the superpowers of modern JavaScript is npm, short for Node Package Manager
Node package manager or npm was first released in 2010.
In 2022, it includes around 500k open-source modules to enhance the functionality of your Node.js applications.
With regards to
npm, terms package and module are used interchangeably.
How to find a package on npm
To find a package you need, you can navigate to the official npm website and type your search query into the search box.

The issue is that as of 2020, this is only useful if you know the name of the package you’re looking for.
If you have a broad query, i.e. how to change the color of output in Node.js I suggest using Google search instead.
How to install an npm package
Once you’ve found what you’re looking for, you can navigate to the description of the package.
It displays the content of the file README.md that the developer has added to the project.
Here’s an example of the module chalk. As you see, it contains installation and usage instructions.
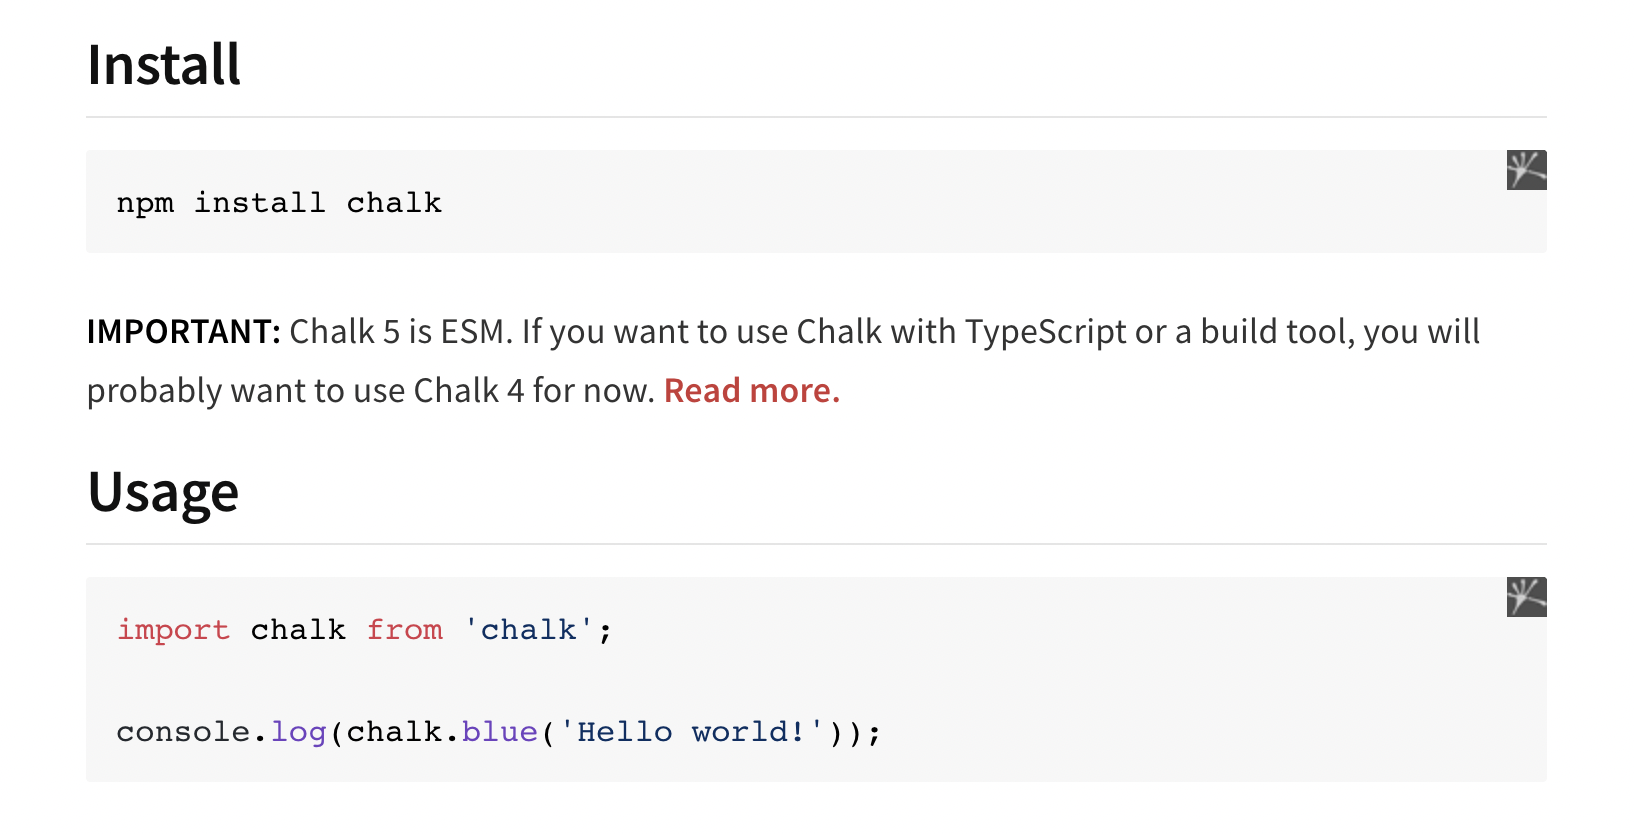
All npm packages can be installed using the CLI tool npm and its install command.
npm install package_name
Navigate to your project directory, substitute the package_name placeholder with the actual name of the
package you’re installing.
npm install chalk
This command will install the chalk module and all its dependencies.
How to install all project dependencies
In the root folder of your Node.js project, there’s a file called package.json.
Among other things, it describes your project’s dependencies:
  "dependencies": {
    "chalk": "^4.1.0"
  }
The useful thing about the dependencies section is that it might contain tons of modules,
and you don’t have to run npm install module_name for each of them.
A single npm install in the root of your project will install all the dependencies listed in package.json.
Saving the module dependency with the -s flag
In most cases, there’s no need to edit package.json manually.
You can automatically add the dependency to it by running the installation with the -s flag or --save.
npm install --save chalk
Which is the same as
npm install -s chalk
Global installation with the -g flag
You can install the package globally using the -g flag. For module like chalk, it doesn’t make much sense,
but there are multiple other CLI tools that you might want to use globally in your system.
npm install -g firebase-tools
This will install the module firebase-tools and allow you to run the command firebase anywhere in your terminal.
Using the terminal
Back in the day command line used to be the only way you could have controlled your computer. It all started in the 1970s. Back then, the UNIX operating system was created, which was favorably distinguished from competitors by its multiuser and multitasking interface. For different people to work in the same operating system, each of them had his own terminal. Computing resources those days were very expensive and the terminals themselves could not do anything useful. But they made it possible to connect to a UNIX server and use its computing resources.
Operating systems Linux and macOS are direct descendants of UNIX. There are many differences between them, but the basic terminal commands have remained unchanged, so we will group them together.
Windows operating system commands are slightly different.
Over time, the concept of a terminal has changed its meaning, and it is easier for you to think of it as a “command line”. In order not to overload you with the terminology, just remember that this is the place where we can write commands that the computer can execute.
You already have some experience with the terminal after completing the first Technician and Sigma task.
The terminal’s capabilities are so wide that whole books are written about it. For you, it will be enough to learn just two basic actions:
- determine your current position in the file system (current directory)
- see what is in the current directory
- change directory
Fire up the terminal and let’s go!
“Before going somewhere, you need to understand where you are.” - ancient Chinese wisdom
One of the simplest and most useful commands in the terminal will allow us to understand our current position or
working directory.
On UNIX (Mac / Linux) systems, it is called pwd or “print working directory” as conceived by the developers.
On Windows - echo %cd%
Understood where we are - great! Now we can see “what we have”, like what’s in the current directory.
UNIX - command ls -" list "
Windows - command dir -" directory "
Well, of course, if we are lucky, we happened to be exactly in the right place and have found everything we need.
But in most cases, this will not be the case and we will need to change the current directory.
Here, UNIX and Windows terminology is the same - the command cd - “change directory” will help us.
To change the directory, you need to not only enter the command cd, but also pass it a parameter -
the name of the directory we would like to move to.
For example, cd / will move us to the root (main) directory on UNIX systems, and if you are using a
Mac and your username is hero, then go to your home folder, you need to write …
— cd /users/hero?
— Exactly! So in order to install and use npm modules, you must be able to move into the appropriate task
directory using the terminal.
— Everything seems clear at this point.
— Well! Here’s a quick reminder if you suddenly forget what’s what:
- Determine your current position (directory) using the
pwdordircommands depending on your operating system - Look around using the
lsordircommands, so you get information about the contents of the current directory and understand where to go next. - If you need to change the directory, use the
cdcommand. If you are completely lost and do not know what to do next, go to the root directorycd /in UNIX / Linux / Mac orcd \in Windows. - In the VSCode dashboard(where you’ve put in your api token) you’ll see a path to your working directory. All the task folders are in it.
- You must move into the task directory with
cdbefore installing thenpmmodules.
How to install all dependencies of your Node.js project
In the root folder of every Node.js there’s a file package.json. Among the other things it includes the dependencies
section. It could look like this:
  "dependencies": {
    "chalk": "^4.1.0"
  }
The field dependencies is useful as it stores references to all the external dependencies of your Node.js project, and
you don’t need to write npm install module_name to install each module separately.
It’s enough to call npm install in the root directory of your Node.js project once,
to install all the dependencies from package.json.
After running the command npm install all modules from package.json will be downloaded from the npm
repository and saved in a directory node_modules.
The directory node_modules is always located in the same folder as the file package.json,
that’s why it’s very important to move into the appropriate folder before running npm install.
In our case, it’s going to be the taskXXX folder (where XXX is the task number) as each Coderslang task
is a mini-project.
Saving the dependency using the -s flag
In most cases, there’s no need to edit package.json manually.
You can add a new module automatically using the -s flag, short for --save.
npm install --save chalk
Does the same as:
npm install -s chalk
CommonJS modules
By default npm modules are used in Node.js as CommonJS modules.
It’s a bit outdated approach that uses the function require(id).
In our coding tasks, we won’t use it, so let’s move straight to the import keyword.
If you’re looking for more information
you can read about require here
ES6 modules
Another approach to using npm modules in Node.js is called ES6 import. It’s a little different from require.
Here you’re changing the function require to the import keyword.
☝️ IMPORTANT: use
importinstead ofrequireto solve all coding tasks at CoderslangJS
There are few ways you can import an npm module.
Here’s the most widespread one:
import chalk from 'chalk';
You’ve just imported the whole module. To get access to its functionality, you should use the dot notation. It’s very similar to accessing the object properties.
import chalk from 'chalk';

console.log(chalk.green('Hello, world!'));
One important thing that you should always check when using import statement is the line "type": "module" in the
file package.json. If it’s not there, you should add it manually.
  "type": "module",
  "dependencies": {
    "chalk": "^4.1.0"
  }
— What should I do if I don’t need the whole module?
If you don’t need the whole module, you can use the destructuring assignment and import only the parts of the module that you’re interested in.
import { red, blue } from 'chalk';
In this case, as described in chalk documentation you’ll only be able to use red and blue colors to color your output.
import { red, blue } from 'chalk';

console.log(red('Hello, world!'));
console.log(blue('Hello, world!'));