Have you noticed in some web pages where you click the link in the table of contents or the navigation bar, it will scroll down to the specific part of the page? That is what you will learn in this short tutorial.
Step 1: Create the structure of the page
The first step is to create the structure of the page. You will add links that the visitor can select and the sections containing the contents of the web page.
First, add the links to the list elements. We will leave the link value empty for now:
    <ul>
      <li><a href="">First section</a></li>
      <li><a href="">Second section</a></li>
      <li><a href="">Third section</a></li>
    </ul>
Second, add the div tags that will divide the section of the page. Feel free to add anything inside the div elements. As an example, I add a header and short paragraph for each div section.
    <div>
      <h1>First section</h1>
      <p>This is the first section of the page.</p>
    </div>
    <div>
      <h1>Second section</h1>
      <p>This is the second section of the page.</p>
    </div>
    <div>
      <h1>Third section</h1>
      <p>This is the third section of the page.</p>
    </div>
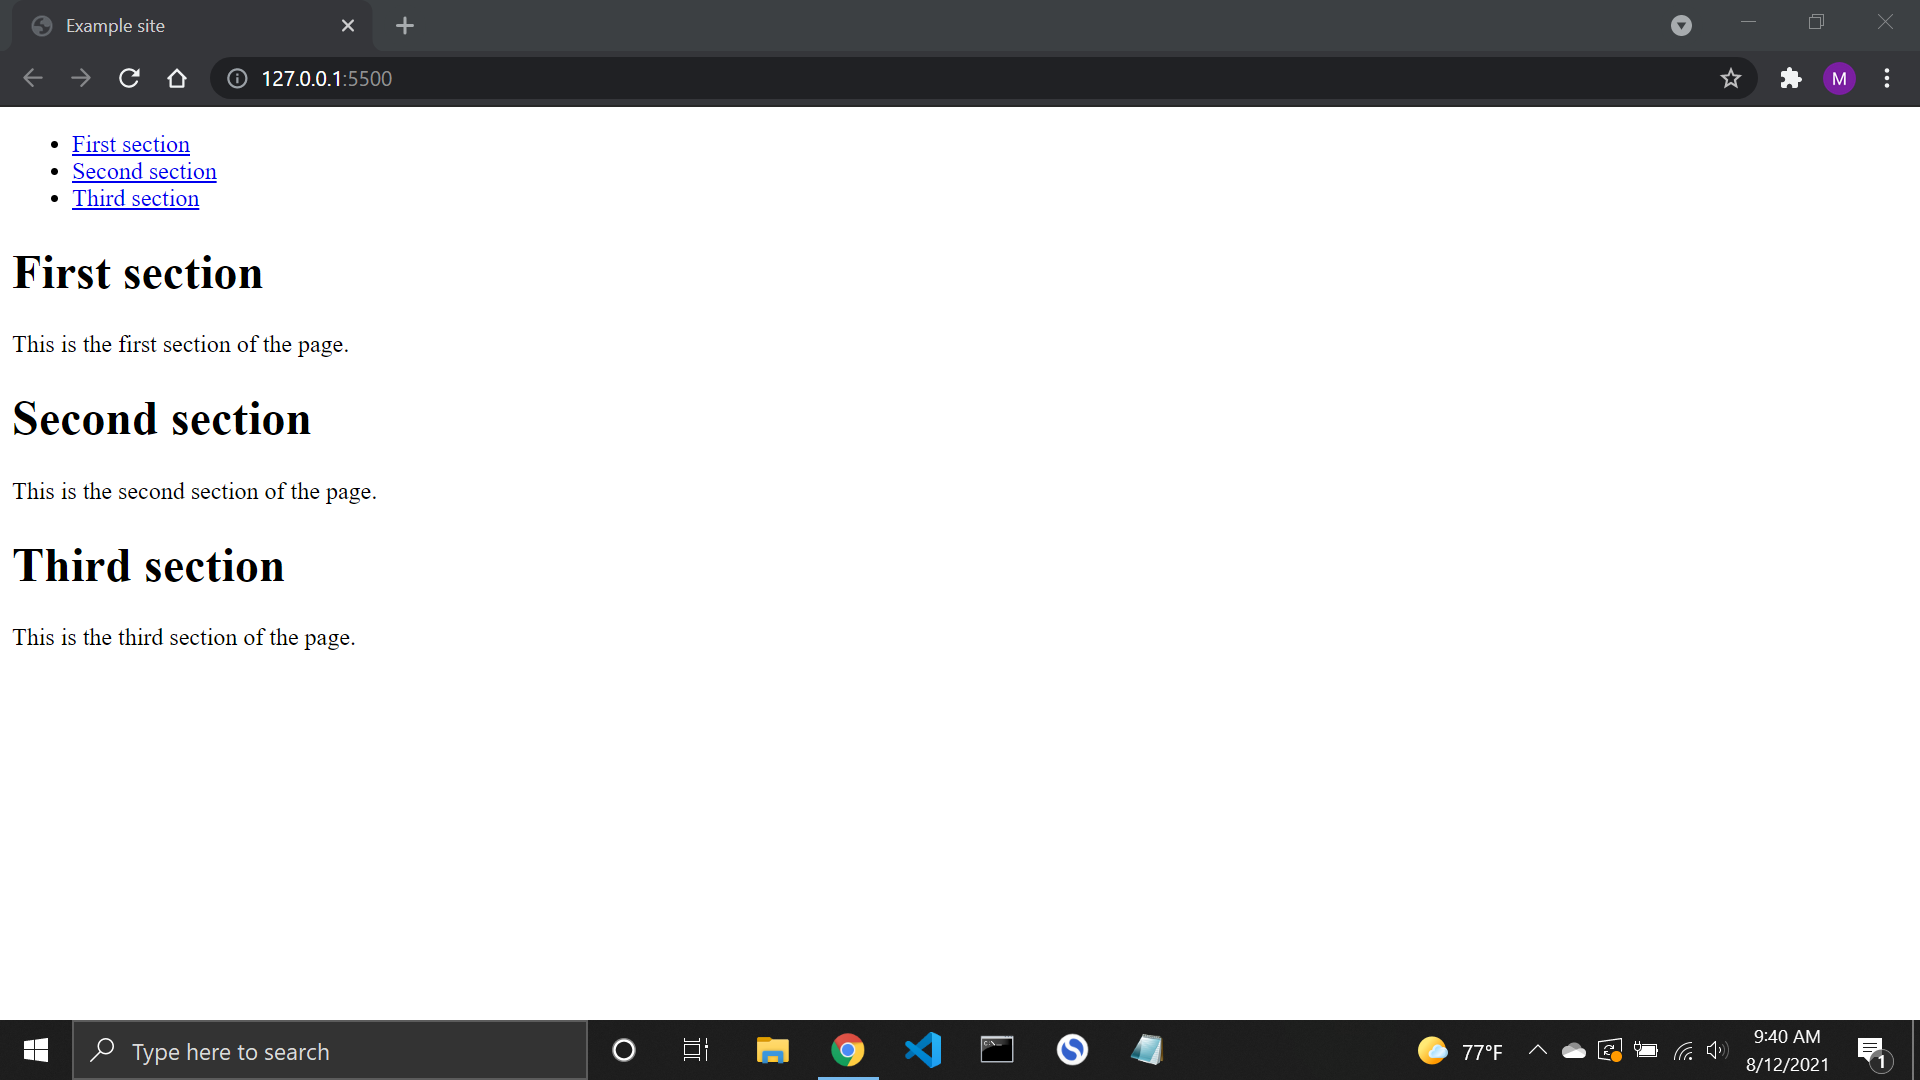
With this, the page should now look like this:
Third, we will use CSS to make some spaces between the sections. This step is optional.
ul {
  padding-bottom: 200px;
}

div {
  padding-bottom: 300px;
}
With this, the content structure is complete and now, let’s add the links that will take to the specific parts of the page.
Step 2: Add the link values to the table of contents
Inside the link values of the table of contents, add the hashtag # and the name of a particular section. For example, if the section name is called First Section, the link value is #first-section.
      <li><a href="#first-section">First section</a></li>
      <li><a href="#second-section">Second section</a></li>
      <li><a href="#third-section">Third section</a></li>
You can give any name you like inside the link values but make sure that it has a hashtag at the start and the name matches according to the particular section of the web page.
Step 3: Add the id name of the section
The final step is to add the id names to the div sections. Remember that the id names should be the same as the link values on the table of contents.
    <div id="first-section">...</div>
    <div id="second-section">...</div>
    <div id="third-section">...</div>
Important!: Use the id attribute to name the specific sections. The class attribute will not work at all.
Final code and conclusion
And it is all done! The final code should look like this after following the steps from above:
<ul>
      <li><a href="#first-section">First section</a></li>
      <li><a href="#second-section">Second section</a></li>
      <li><a href="#third-section">Third section</a></li>
</ul>

<div id="first-section">
      <h1>First section</h1>
      <p>This is the first section of the page.</p>
</div>
<div id="second-section">
      <h1>Second section</h1>
      <p>This is the second section of the page.</p>
</div>
<div id="third-section">
      <h1>Third section</h1>
      <p>This is the third section of the page.</p>
</div>
Now, when you head back to the browser and click any link from the table of contents, it will take you to the specific part of the page. The main takeaways from this lesson are:
- In the table of contents or navbar link values, add a hashtag at the start and the name should be the same as the section name. Eg:
#example - The section name should match the name of the link values. Eg:
id="example" - Use the id attribute to name the specific sections as the class attribute will not work.
I hope you will find this tutorial helpful and happy coding!
Get my free e-book to prepare for the technical interview or start to Learn Full-Stack JavaScript